.png?width=463&height=50&name=Operate%20Logo%20Knowledge%20Base%20(HubSpot).png)
Step 1 – Open the Properties list
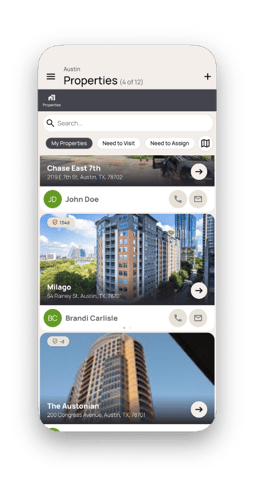
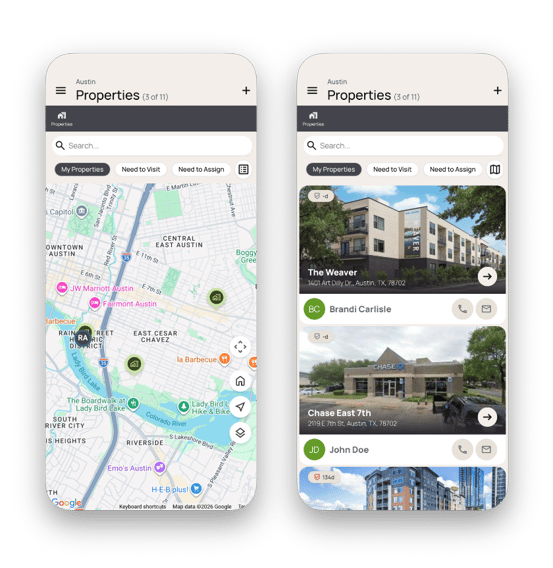
In Operate, the Properties list is the default view after you login. There are two views of the Properties list:Map (left) and List (right).
If you do not see the Properties list, you may need to tap the left (<-)icon in the upper-left corner of the app until you do.
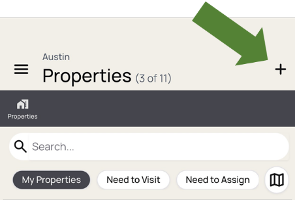
Step 2 – Search for Property
- Unselect (white background) the "My Properties" quick filter to show all properties. This filter will only show properties that are assigned to you (if you are an Account Manager).
- Type the name or address of the property you are looking for. If it already exists, then there is no need to add it. You can select the property by tapping the right (->) icon in the bottom-right of the property card.
Step 3 – Add new Property
- If you'd like to add a property, then you can tap the plus (+) icon in the upper-right corner of the app.
- There are 3 options for selecting the new property address:
- Where you're standing - If you happen to be standing on the property you want to add, you can adjust the Name and tap the Save Property button.
- Search by name or address - You can start typing and the property search will try to find the property you're looking for. When you see it, just tap the right one.
- Manually enter - If Property Search doesn't find the right property, you can always manually enter the name and address.
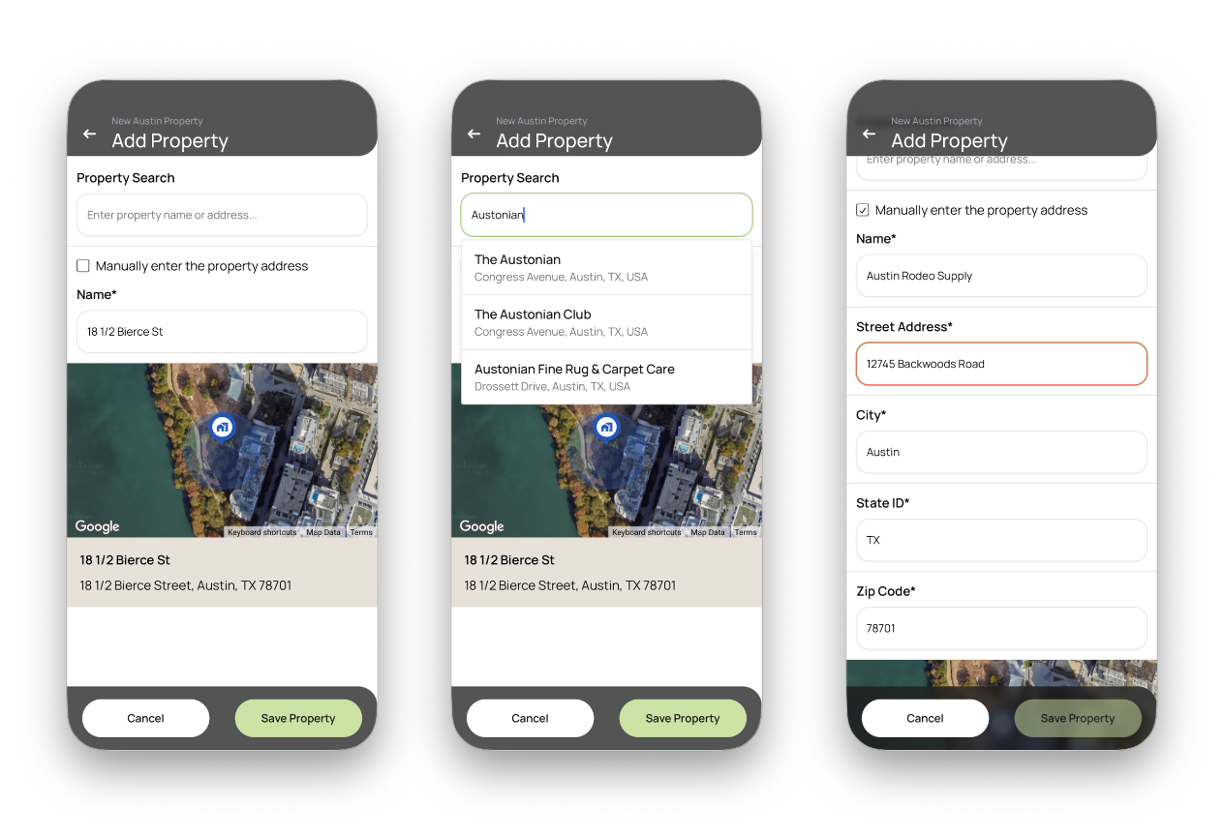
Once the property has been added, it will be permanently available for you and others to use.